DIY Art Fail?

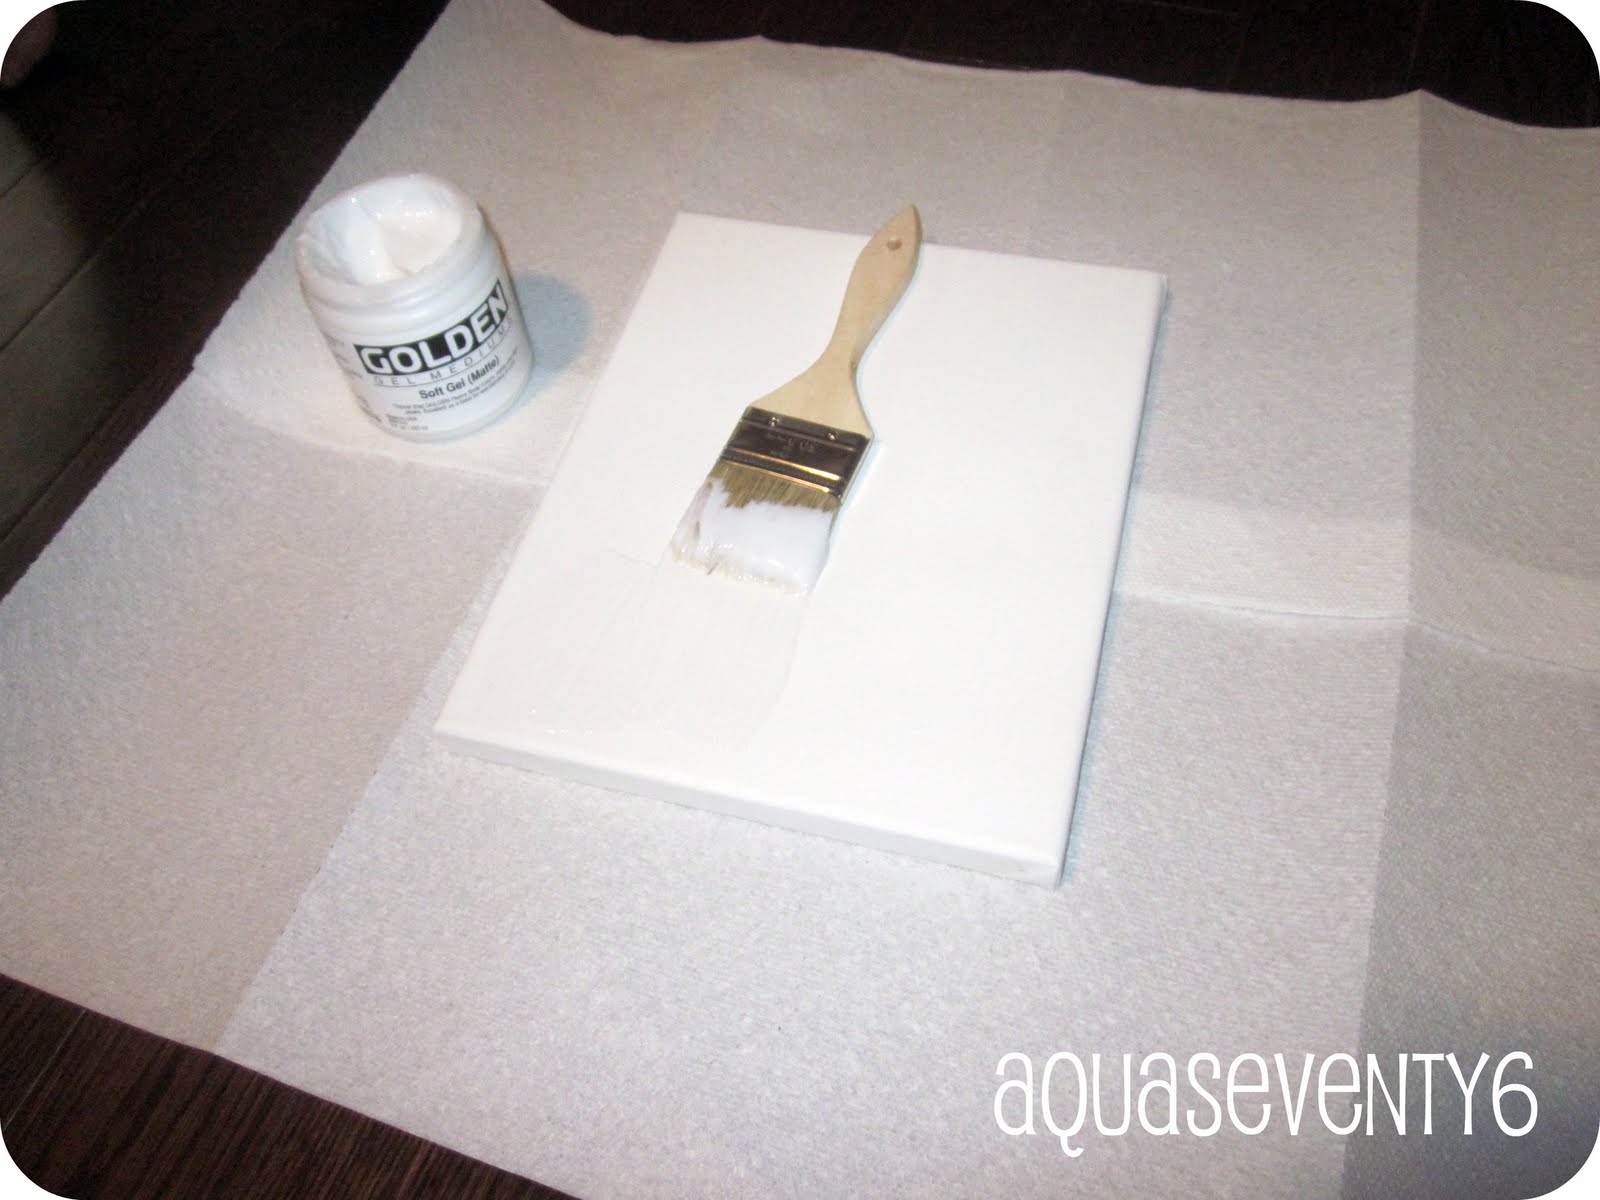
I found a project in the newest edition of Do it Yourself Magazine that I thought my 8-year-old daughter and I could absolutely tackle.  The project was a DIY wall art project using gel medium, a photo printed on a transparency sheet and a blank canvas.
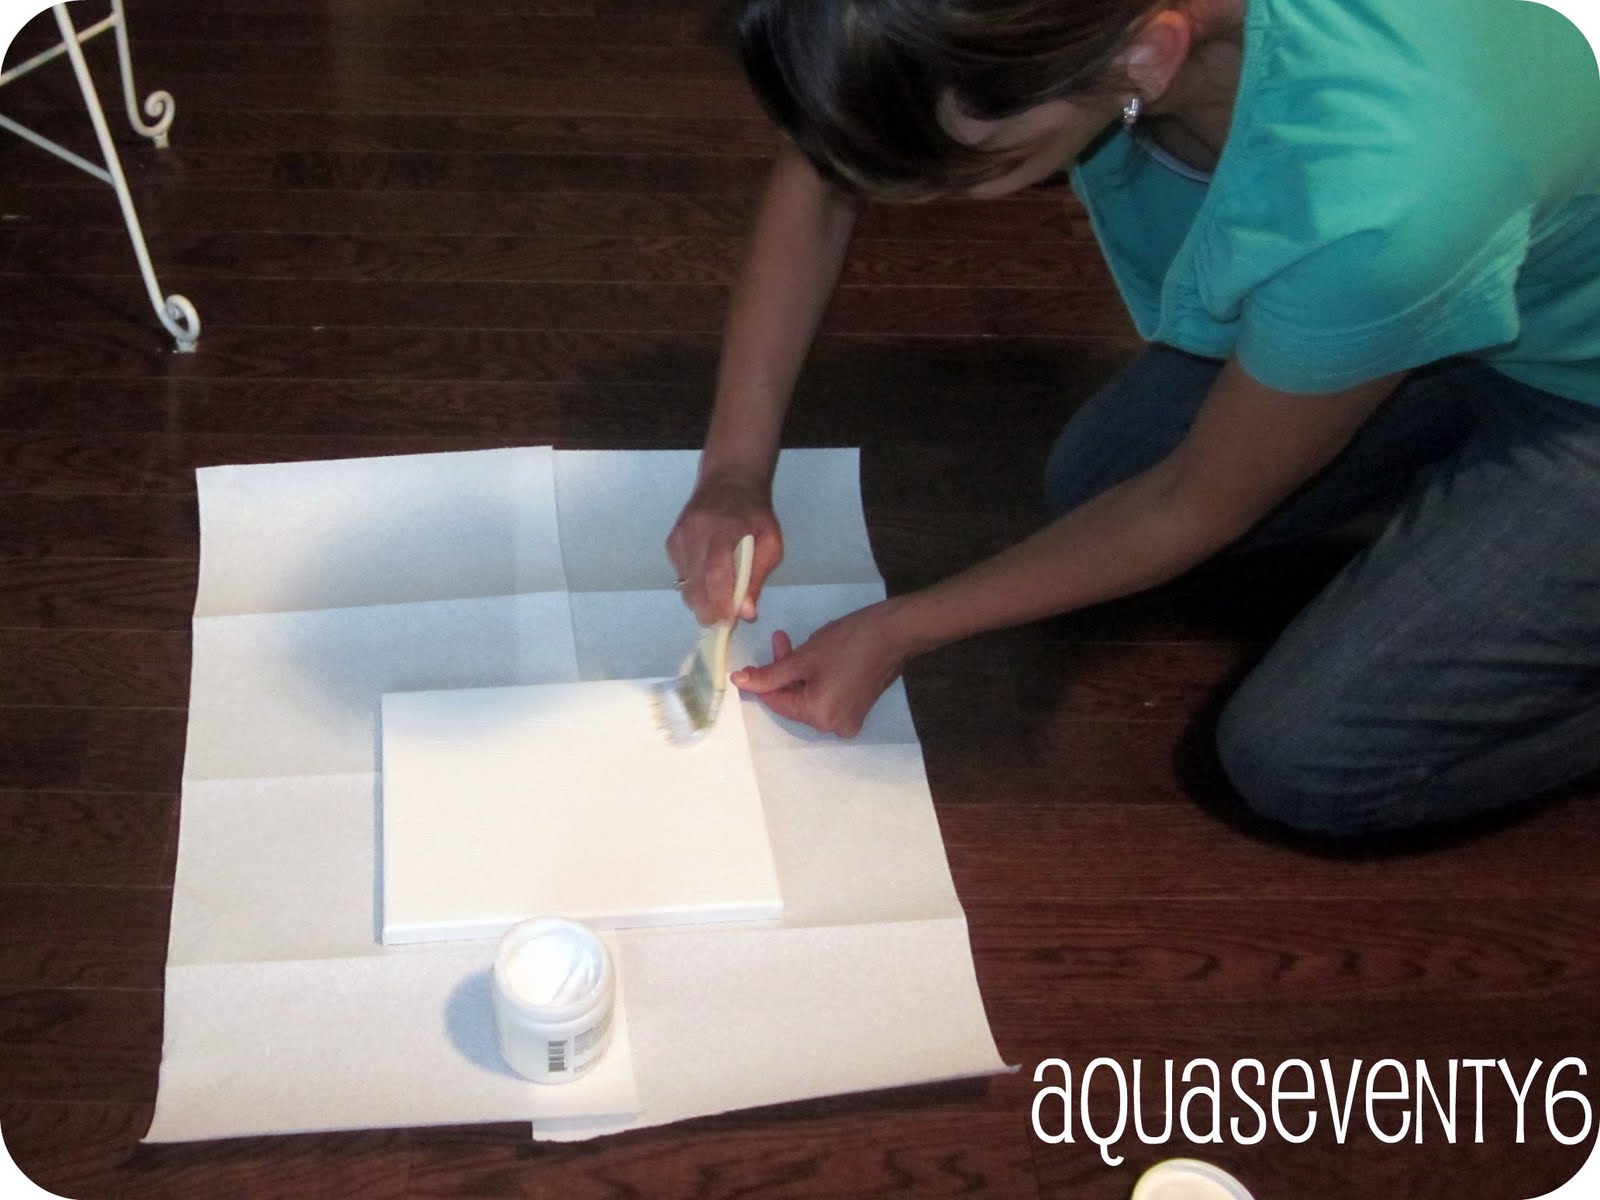
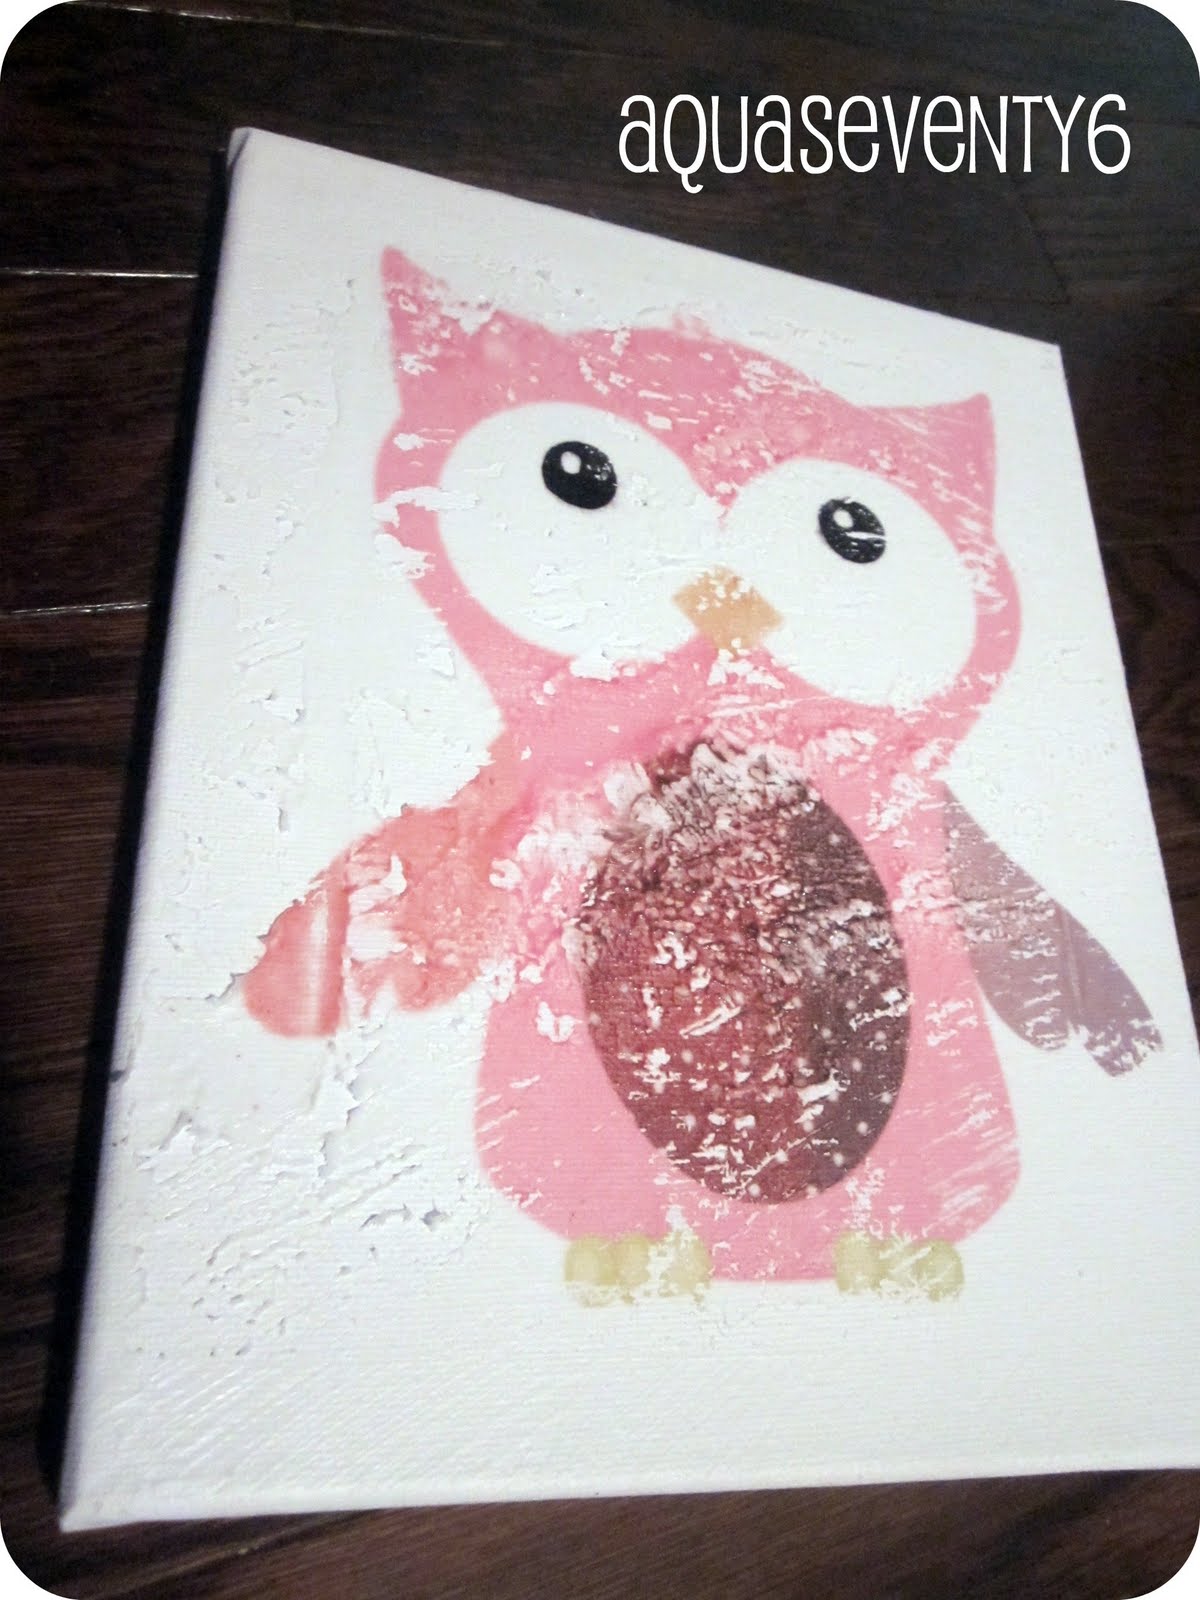
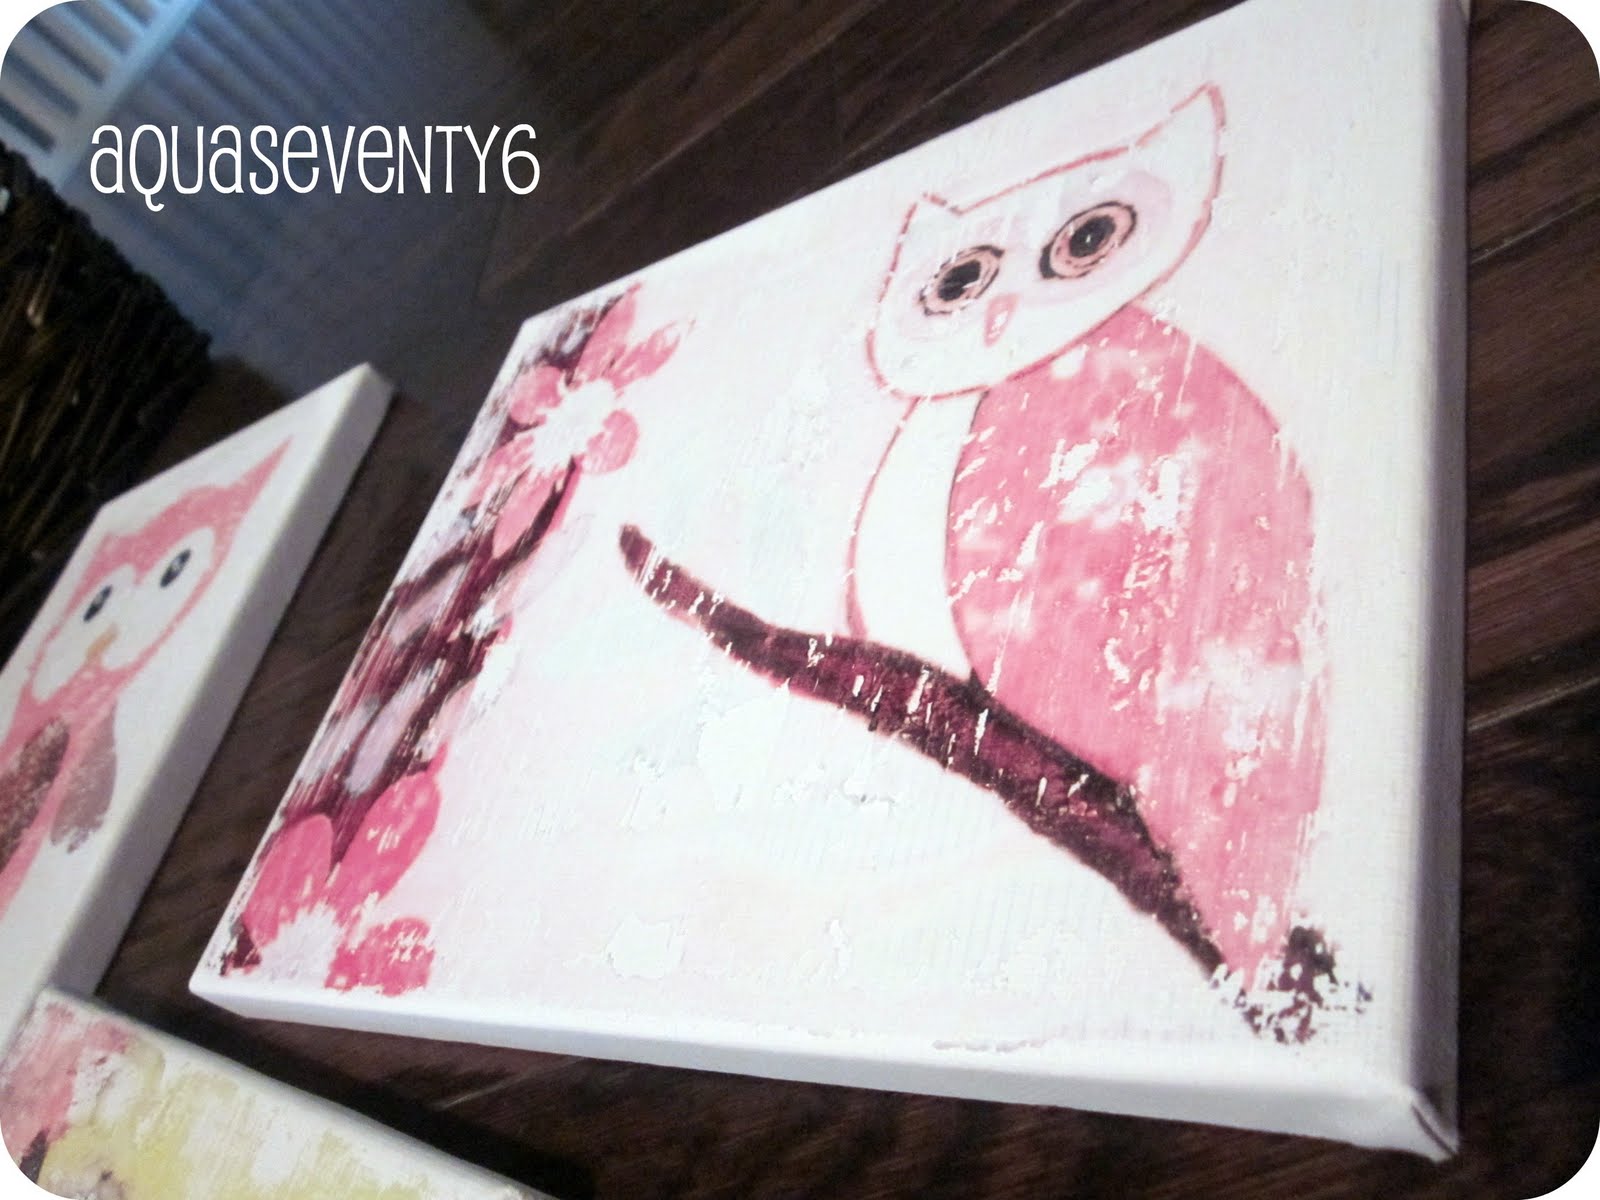
The basic idea was to spread a thin amount of gel medium onto a canvas, then place a printed transparency sheet ink down onto the canvas.  We were supposed to rub the back of the sheet with a spoon and voila, the photo would transfer onto the canvas with an “artsy, gritty quality”, which looked oh-so-cool in the magazine.
I decided to buy my daughter the supplies as an Easter gift.  I picked up some canvases ($8) and gel medium ($15) at Michael’s.  I didn’t have time to get the transparencies for Easter, so she and I went to Staples today.  Lo and behold, those suckers were EX-PEN-SIVE!  $60 for 50 sheets!  If I hadn’t already promised her that we’d do this, I would have stopped right there.
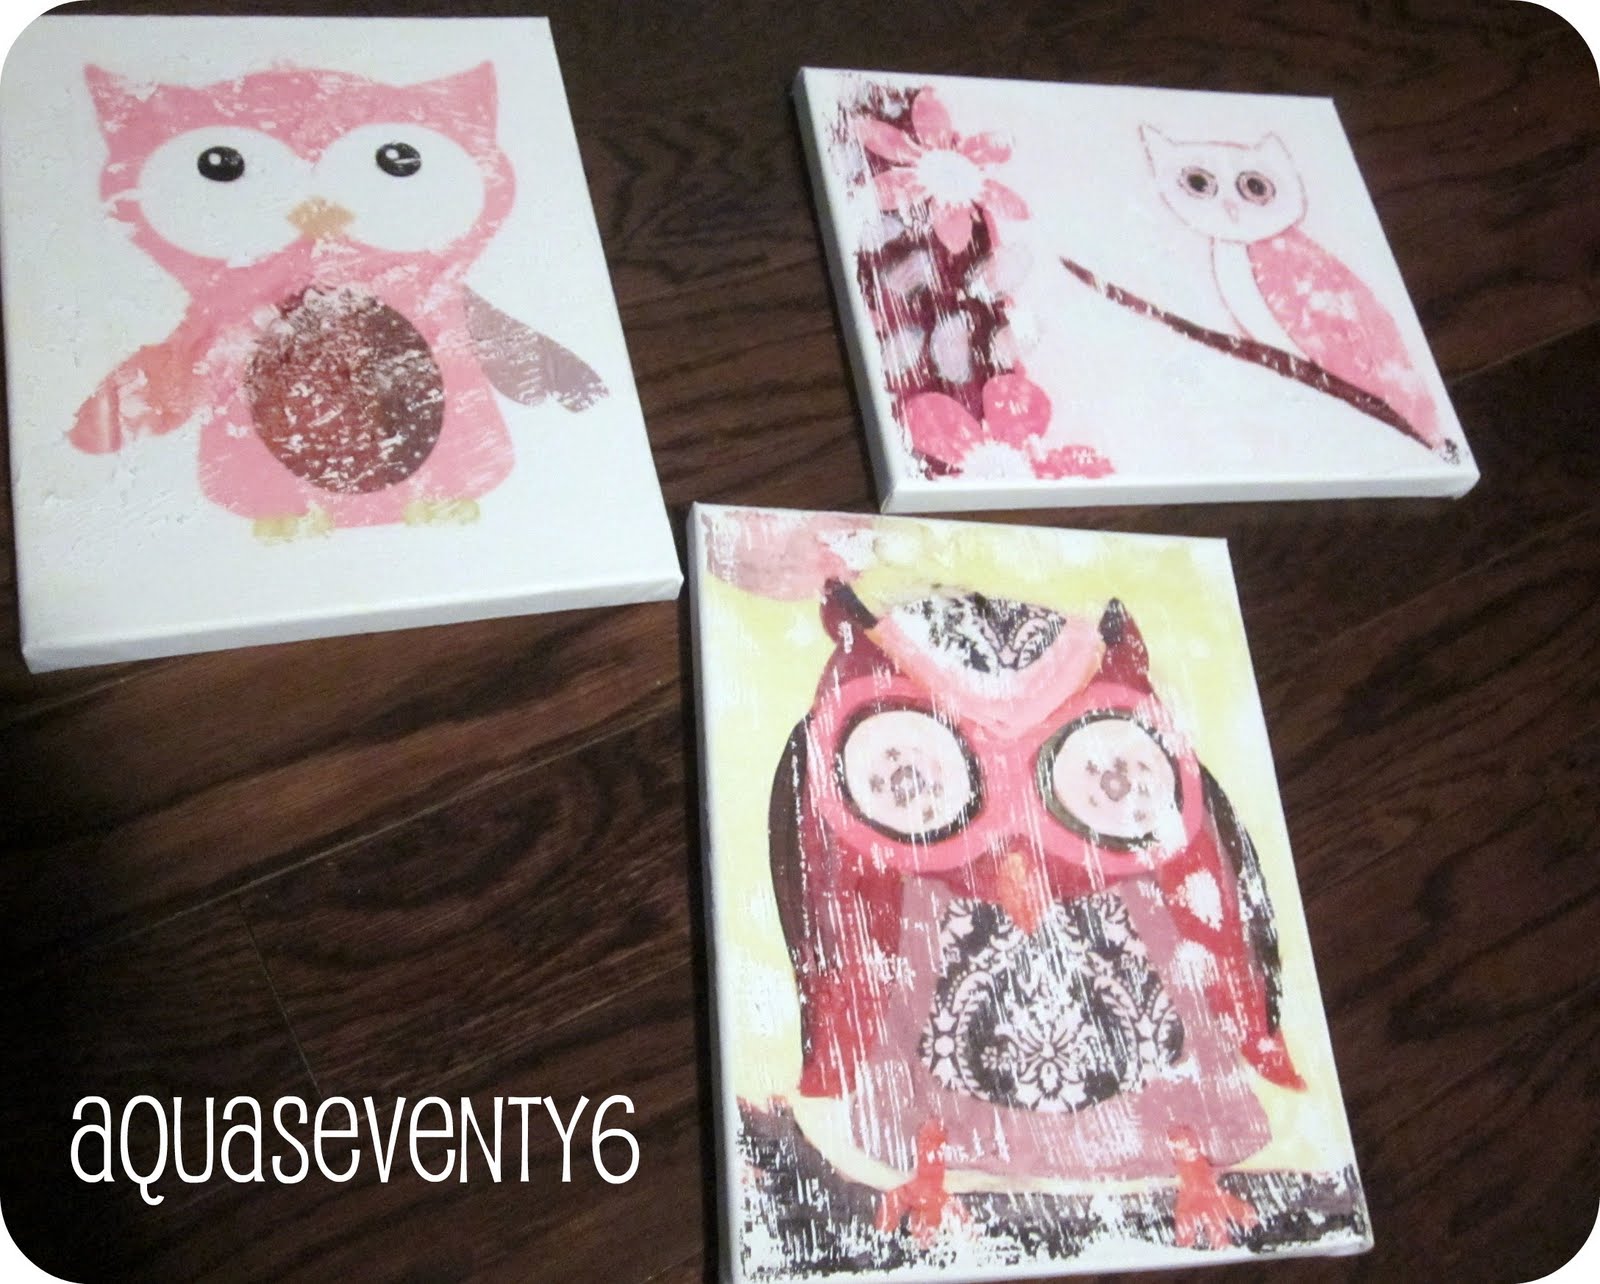
We browsed the ‘net searching for some cool owl images (note: we just did the old ‘right-click and save’ to make some sample canvases. AquaSeventy6 always recommends that you get permission before using online images!)
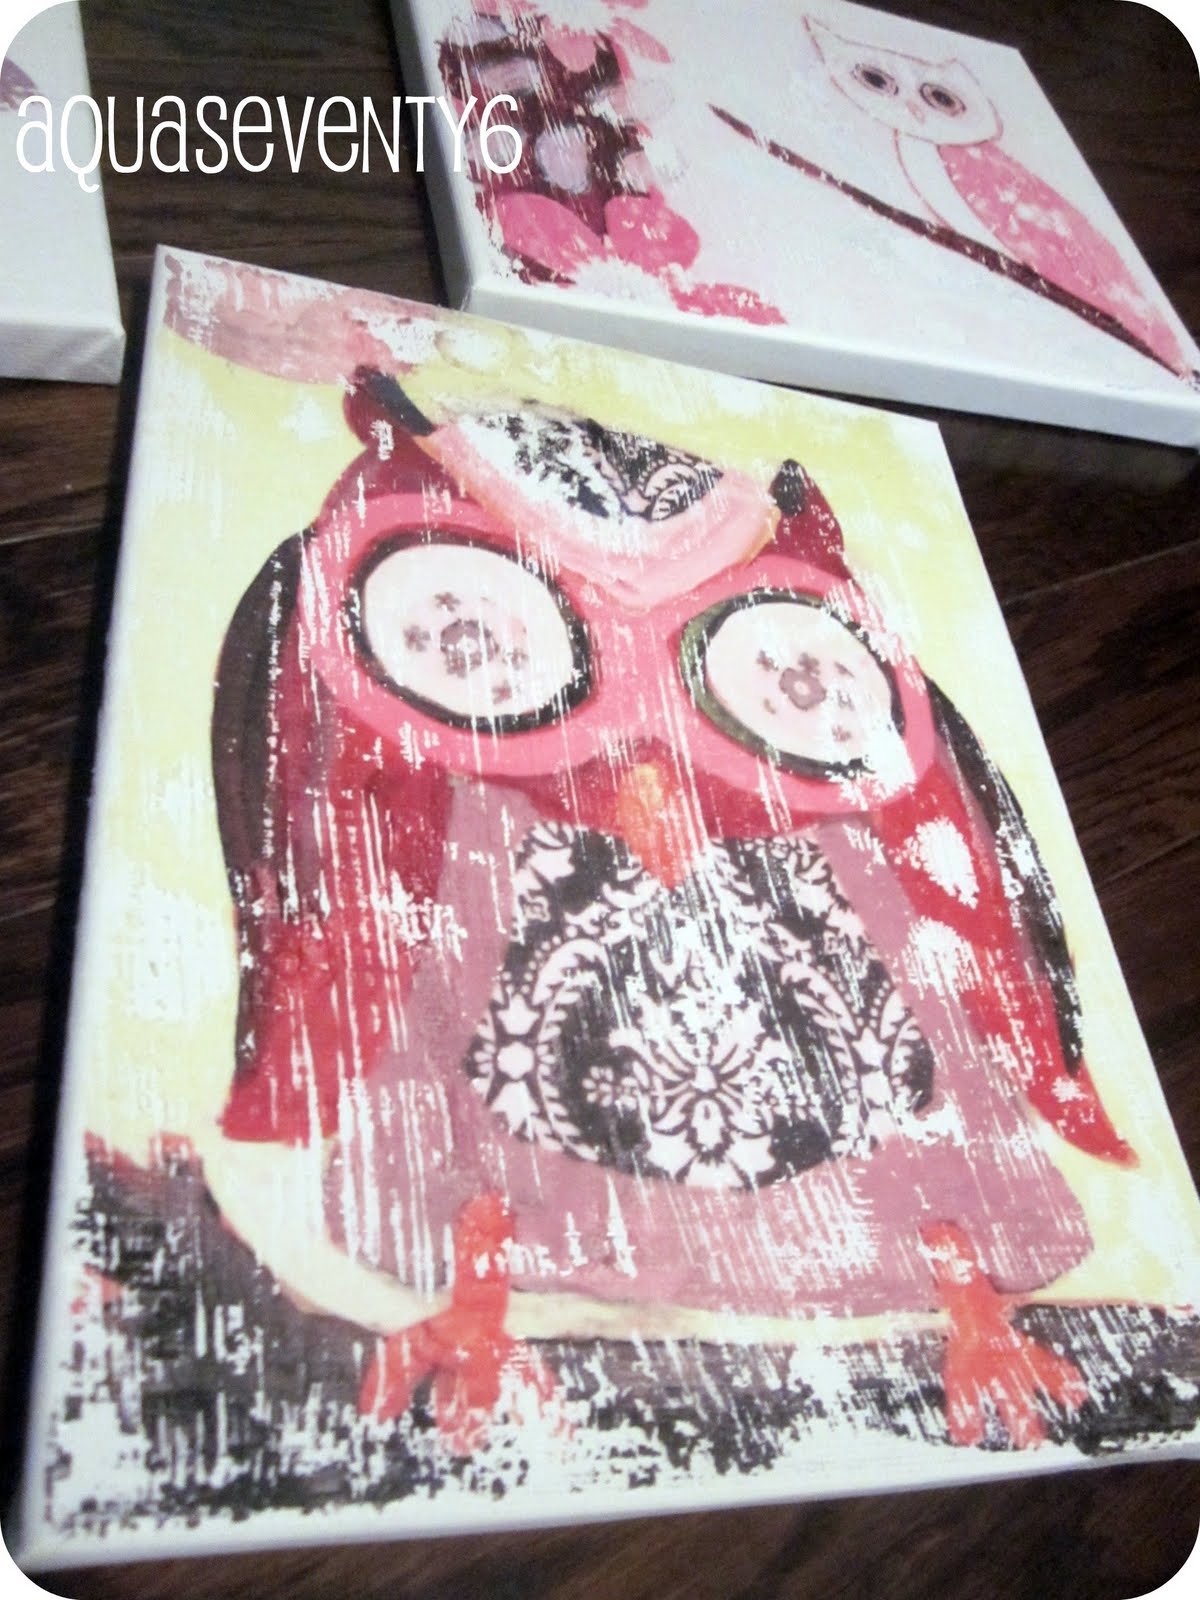
After ruining our first canvas by using way too much gel medium, we ended up with these three sample canvases.  We still haven’t decided if we like them or not, especially since the materials were not cheap.  Maybe they would turn out better if we used photos instead of clip art.  We’d like to hear what you think.  Was this a DIY fail or is it DIY fab?

Photobucket

Garage Sale Find Makeover

Photobucket

This is a quick garage-sale-find makeover I did while the kids napped yesterday – and still had time for a cup of coffee before they woke up! After a  week of unpacking boxes I was itching for a project. I figured this was simple enough to bang out in an hour.

I picked this painting/window frame up at a garage sale months ago, not knowing quite what it would become, but knowing it had more to offer than it was in its current state.

Photobucket

Photobucket

The first step was to set this lady free. The painting was like a huge pimple on a pretty face; you know there’s a lovely face there but all you can do is stare at that giant zit! So, I just started pulling on the picture…and off it popped! Why does it feel so good to pry something apart with your bare hands?

Photobucket

Next, I started lightly sanding with a #2 sanding block.

Photobucket

Using a dry brush technique (which is a fancy way of saying dab a little bit of paint on your brush and then dab most of it off on a paper towel) I added a little black and then a little pink.

Photobucket

But she was not quite done. The whole purpose of this project was to create something to display my sons’ art projects. They have been bring home some of the cutest things from school and I was at a loss of how to properly show them off. A important factor was making it simple to swap things out as only some of the projects will make their home in a frame.

Enter twine and miniature clothes pins! Which seems to be a current them with our projects lately!

Photobucket

Photobucket

Now that it’s all done, I am still not 100% sure if I loooove this piece as much as I want to. But that is the beauty of DIY projects – you can often just simply redo something such as the paint color. In this case, that is what I have narrowed it down to- the paint color/technique I choose. So stay tuned, maybe this makeover will get a makeover! (And I think these pictures are proof I may also need a new camera.!)

Photobucket