Tea Towel Curtains (With An Unexpected Vintage Trim)

A few weeks ago I came across this idea and I knew I had to recreate it!

I was lucky enough to find these tea towels at Joann for $8.99/ 3-pack:

I added a little pocket to the back using some left over fabric from my dish towel project so that the curtain rod could slide through without having to fold back the fabric and lose the top stripe.

Here is the end result…sort of:

I would have been happy with a simple curtain made from just two tea towels.  Unfortunately, the fabric of the two towels was not long enough. Since I am in a rental, and the curtain rod was already attached to the wood trim, I didn’t want to make another hole in the wood.  Instead, I added some vintage eyelet trim I found at a thrift store in Florida many months ago.

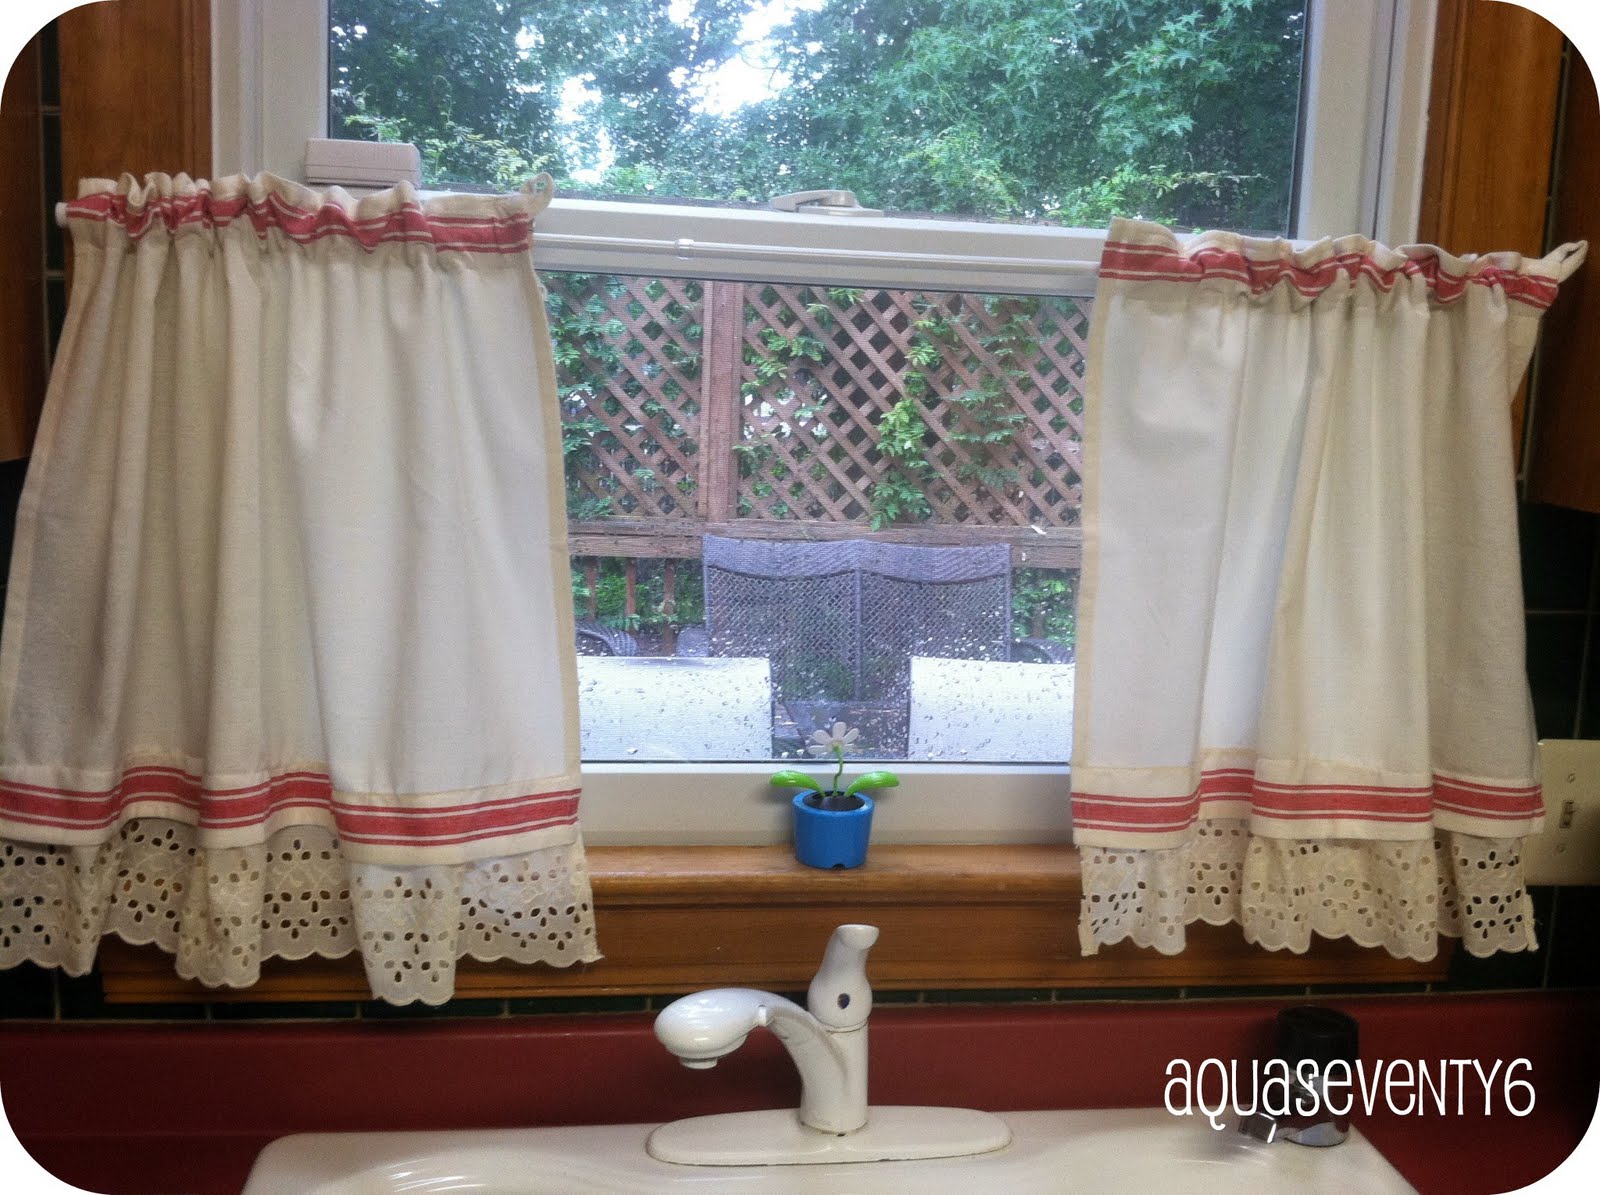
It’s a little more “country” than I had envisioned, but I have grown to love it, especially since the trim reminds me of home.  I also love that it’s a mix of old and new.  Very fitting for a girl who just moved out of state for the first time EVER! 🙂

Sooo…what do you think? You know we heart comments here at Aqua Seventy6!

Linking up to the parties listed below.


DIY: Shabby Lamp Shade

I love me some fun lamps. However, I do not love those “fun” prices that come along with said lamps.
Lately, I have been browsing the plethora of adorable Franklin,TN antique shops and gathering a lot of inspiration. Among the treasures were tons of unique desk lamps – which is exactly what I needed to go with my revamped desk!

Well, these beautiful antique shop lamps were not in the ole budget,
so I had to get funky with my GW lamp.

Photobucket
As you may have noticed, I ripped off the stained fabric that was the lamp shade before I snapped my photo – but I am sure you can dig into your imagination to envision the before look.

Redoing the base was simple: Krylon spray paint in Almond.

For the shade, I had bigger plans (details to follow) that required a tad more elbow grease.

Snapbucket

First, I sprayed the frame a light yellow. Next, I cut up some random fabric and burlap scraps, then tied them around the top and base of the lamp shade frame.

Snapbucket

And now she lives happily on my desk!
I also love that I can rotate the shade to get a glimpse of different fabrics.
This was super simple and only took about an hour.

Snapbucket

Photobucket