In Florida, the school year usually begins mid-August. The concept of starting after Labor Day is quite foreign to me, as is waking up to temperatures in the low 60s this early in the year. The fact that the local pool CLOSES on Labor Day wigs me out. Back home, the beaches are still warm well into October. Virginia is still the South, right? 🙂
Even so, after spending the week shopping for school supplies, meeting teachers, and touring campuses I am ready for fall!
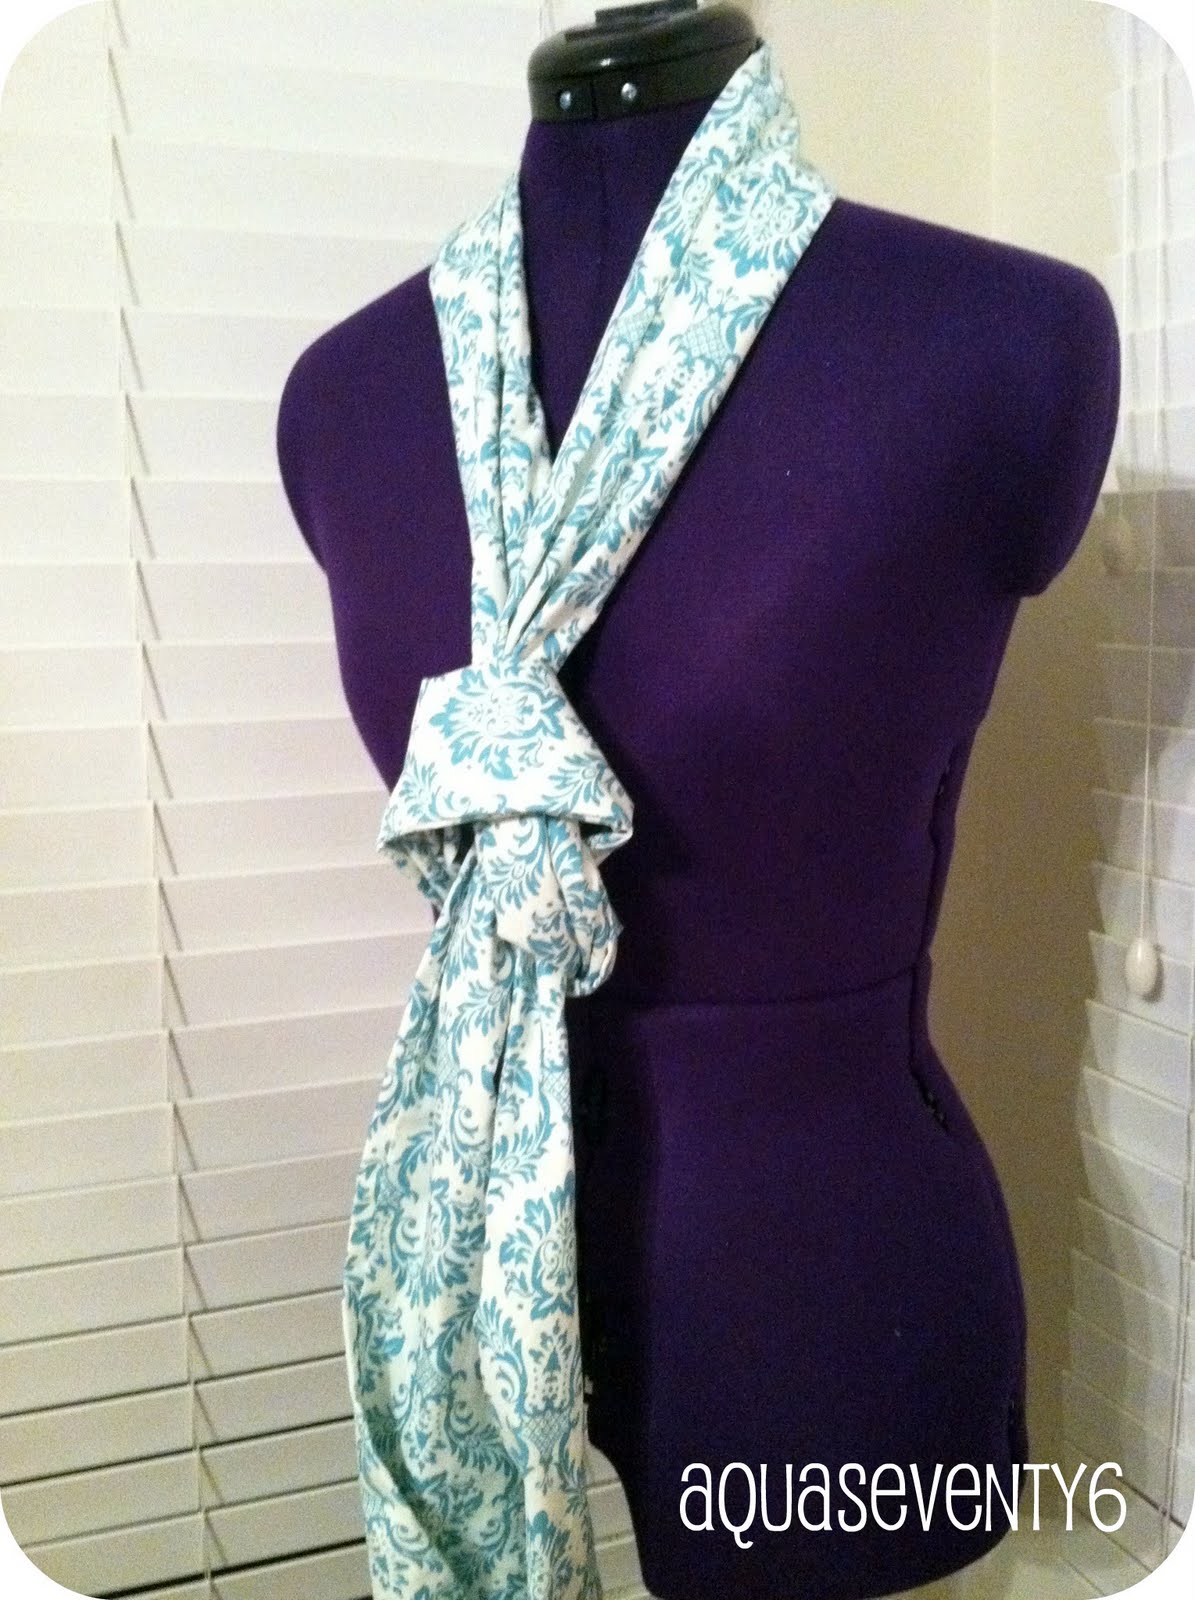
One of my favorite fall accessories is a scarf. A couple of years ago I purchased my first infinity scarf (which is basically a tube a fabric connected on both ends.) I loved it so much that I wore it everyday, which of course means I took it off somewhere (restaurant? sister’s house? grocery store? movies?) never to be seen again.
I decided to try to make my own infinity scarf, and here is what I came up with.

I didn’t photograph a step-by-step on this because to be perfectly frank, I didn’t know what the heck I was doing. I made so many mistakes that I nicknamed this the “Dingbat’s Infinity Scarf”.

I love how versatile this scarf can be!

Leaving out my trial and error this is what I did:
- Cut 2 pieces 12″ x 54″ of your favorite fabric
- Sew together one of the short ends on each (right sides together) to make a 12″ x 108″ strip.
- Fold the short length in half (right sides together) and sew along the long side.
- Turn the tube inside out (like a sock).
- Fold in and press a seam on one of the open ends
- Tuck the other short ends into the folded end and top stitch them together
I won’t deny that those are the worst instructions ever. I am positive that there is a MUCH easier way to do this, so if you figure it out, let me know! Even so, I am loving my new infinity scarf. I can’t wait until it is cool enough to sport it out!