What I’ve Been Working On (#WIBWO) Summer 2014 Edition

Hello!  It’s been awhile!  I’m sorry that I haven’t update this blog in so long!  I have been having a wonderful summer, and I just haven’t made the time to sit behind the computer.

If you follow me on Instagram or Facebook, you will have seen some of the fun times we’ve had, as well as what I’ve been working on.  Today I want to share with my blog readers what’s been going on in my studio…

The following post is going to be picture heavy, but I just have so much to share!

I got really busy this summer working on my signature Wet Bags ($14).  I picked up some new fabrics and was so excited to ship these bags to clients near and far!

These Anchor Wet Bags SOLD OUT in just a couple of days!

Fabric Keyrings ($7), one of the first handmade accessories I debuted back in 2011, are popular year-round, but more so during the school year when parents purchase this cute and practical gift for their child’s teachers.

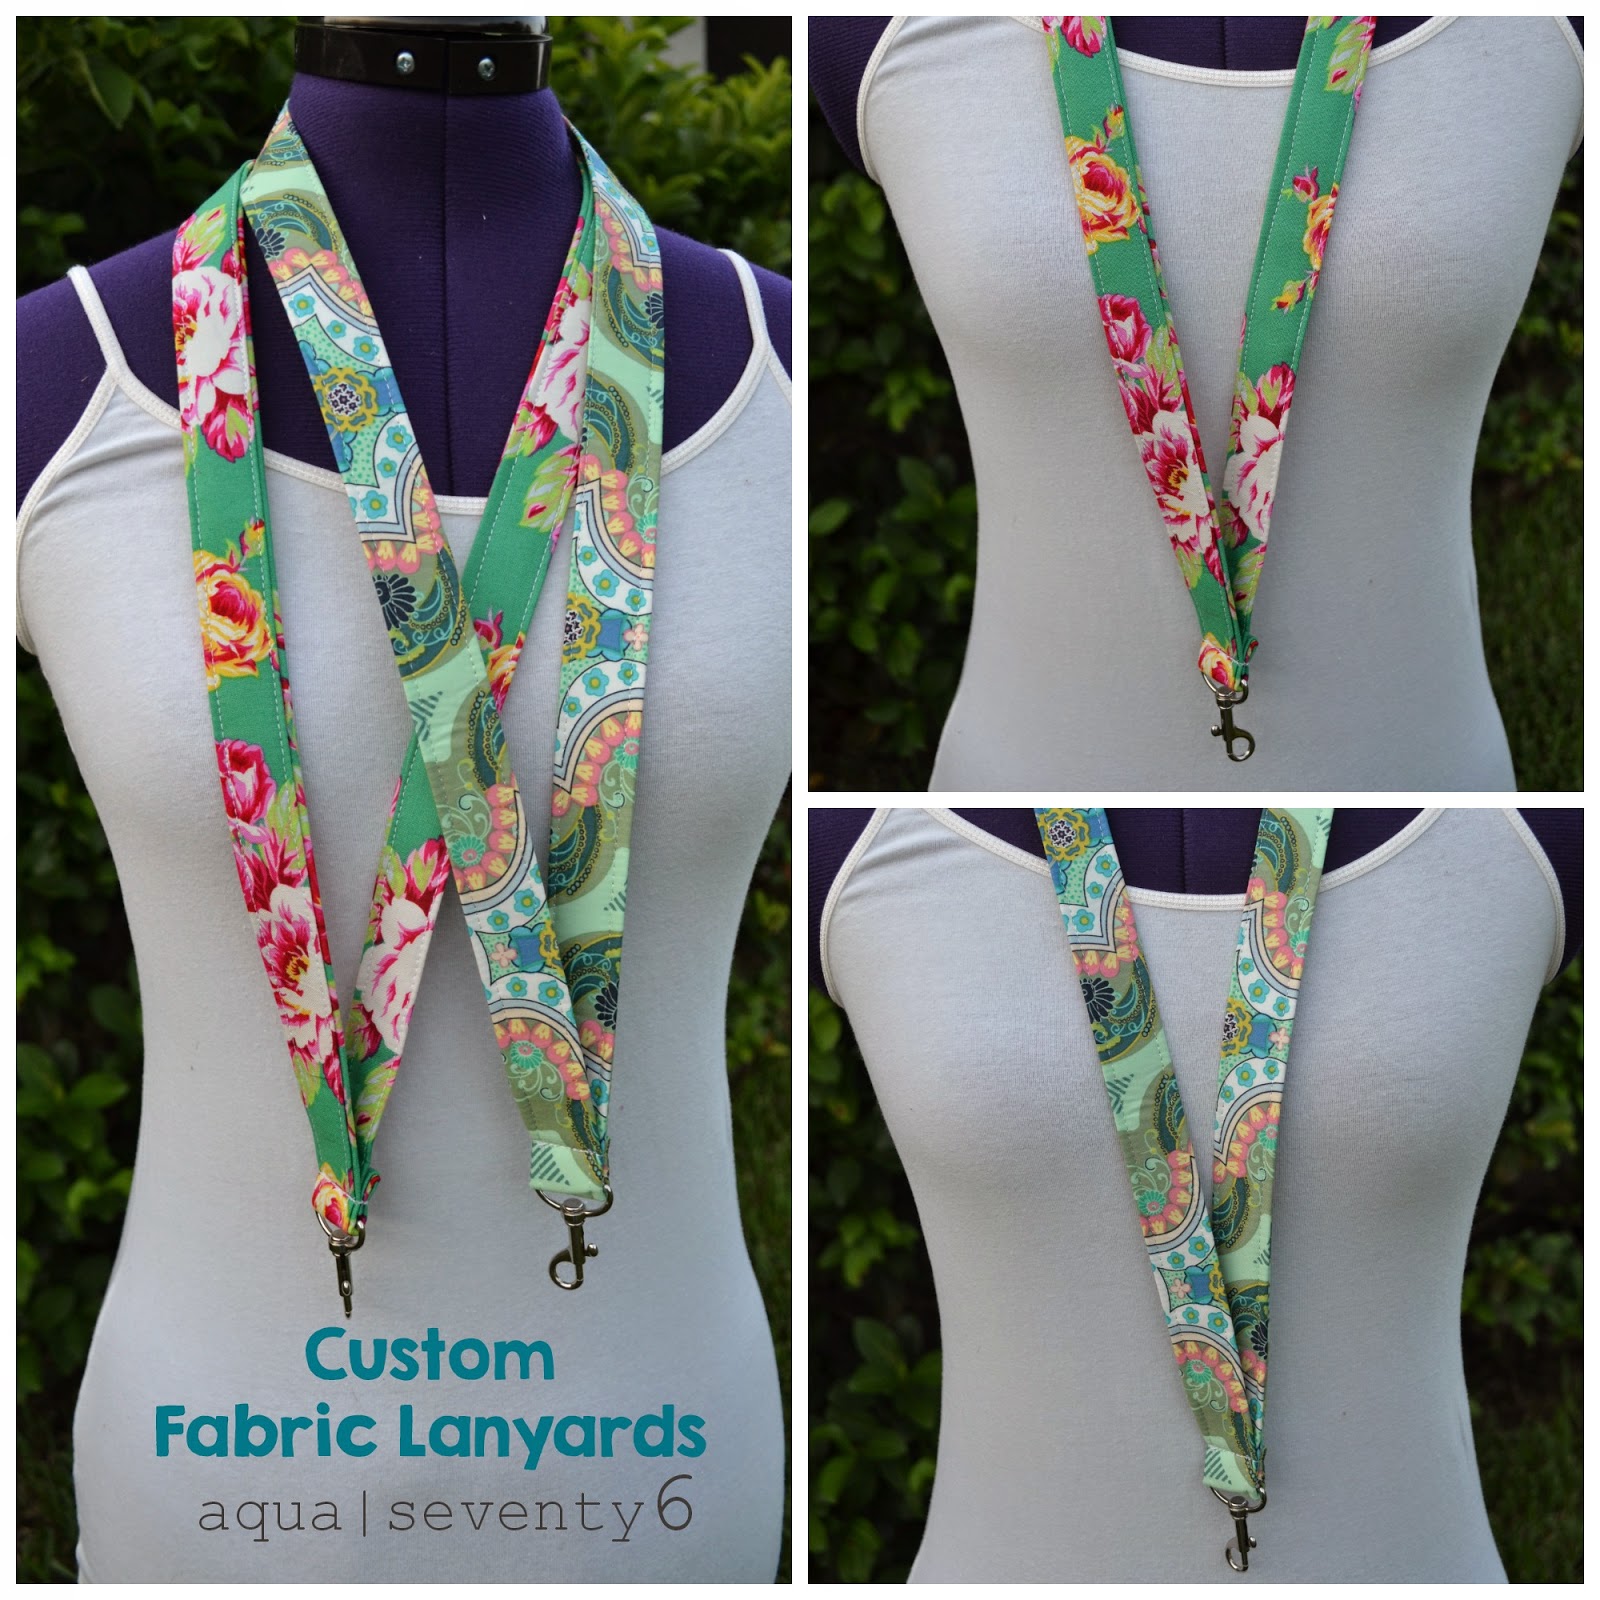
During back-to-school time, I feature my Fabric Lanyards ($10).  These are great for teachers, students, and anyone who needs to carry a badge at work.  These are also great to hold your keys!  I wear mine tucked into my top when I go for a walk or jog.

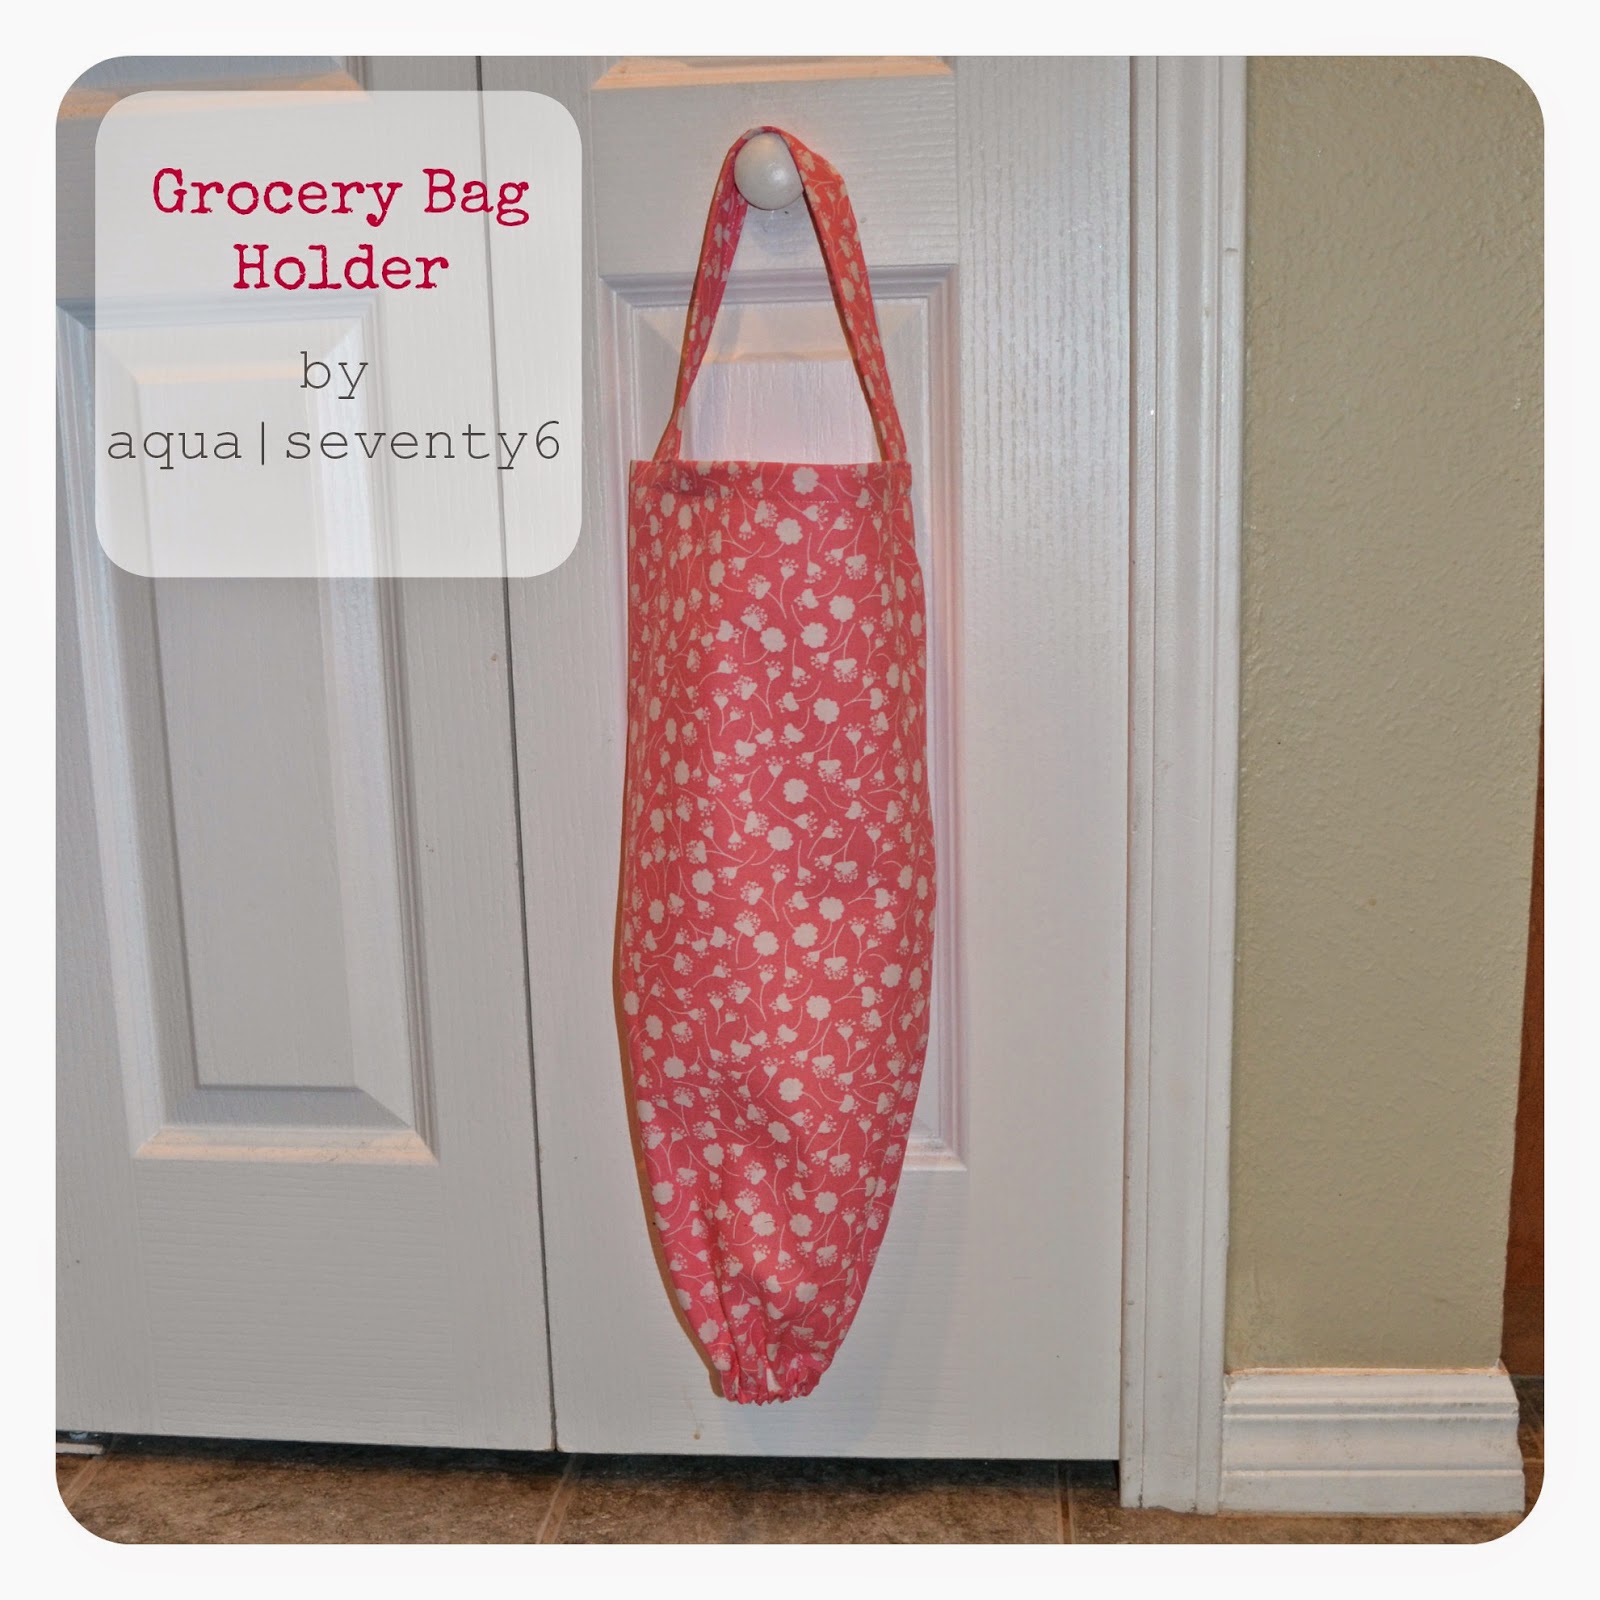
I had a custom request a couple of weeks ago from one of my most dedicated clients for a Grocery Bag Holder ($10). This is new to AquaSeventy6 and I am happy to debut it on today’s blog:

Finally, this summer I debuted a Layette Combo. This comes with 2 applique onesies, 2 applique burp cloths and a matching vinyl-lined “Everything Bag” made to order for $40 (15% savings) or upgrade the Everything Bag to a full-sized Wet Bag for just $2 more (that’s a 20% savings.) These make unique and thoughtful baby shower gifts!

This is an example of the Little Man combo.

If you want to place an order for anything you see on my blog, email me at aquaseventy6@gmail.com.  Everything is made-to-order and ships first class with tracking. Thanks for reading! xoxo

Photobucket

Advertisement

15 Minute Project: Tablecloth Curtains

I needed some curtains for my dining room (in progress) but I couldn’t find any that I loved without giving up my first born child in return.  Then I came across two of these tablecloths:

15 minutes later I had this:

I love quick and easy projects almost as much as I love repurposing and upcycling.  This is my favorite curtain tutorial so far, especially because it is only has 4 steps.

  1. Find a great deal on 2 identical oblong fabric tablecloths (Target’s Threshold brand comes in 84″ length…the same as a basic curtain panel! Many tablecloth brands range up to 120″ in length for the same price!)
  2. Fold over the end of each of the tablecloths and pin to create a pocket on each for the rod.  The amount your fold depends on the size of the curtain rod.  Keep in mind that the more you fold over, the shorter the curtains will be. Make sure you fold them identically so that the panels hang evenly!
  3. Stitch along the bottom of each fold.
  4. Hang your new curtain panels!

What I love most is that tablecloths are already hemmed along all four sides, so you only have to sew one straight line across each!

Identical curtain panels at Target cost $24.99 each!  These tablecloths were $18.99 each (regular price). I saved 20% using my Cartwheel app, AND I had a Target coupon for $5 off a home purchase, so I ended up spending around $25 for both.  Another plus is that tablecloths are anywhere from 6″ – 20″ wider than curtain panels, so I only needed two for this large window, where I would’ve normally needed 4 traditional panels.

If you keep your eyes peeled, you will catch a great deal on some tablecloths.  I’ve seen some as low as $6 recently! 

A variation of this tutorial for more narrow windows:

  • Use only one tablecloth.
  • Cut the tablecloth in half lengthwise.
  • Hem both newly cut sides
  • Follow steps 2-7 above.
  • Save EVEN MORE MONEY!

Photobucket