15 Minute Project: Tablecloth Curtains

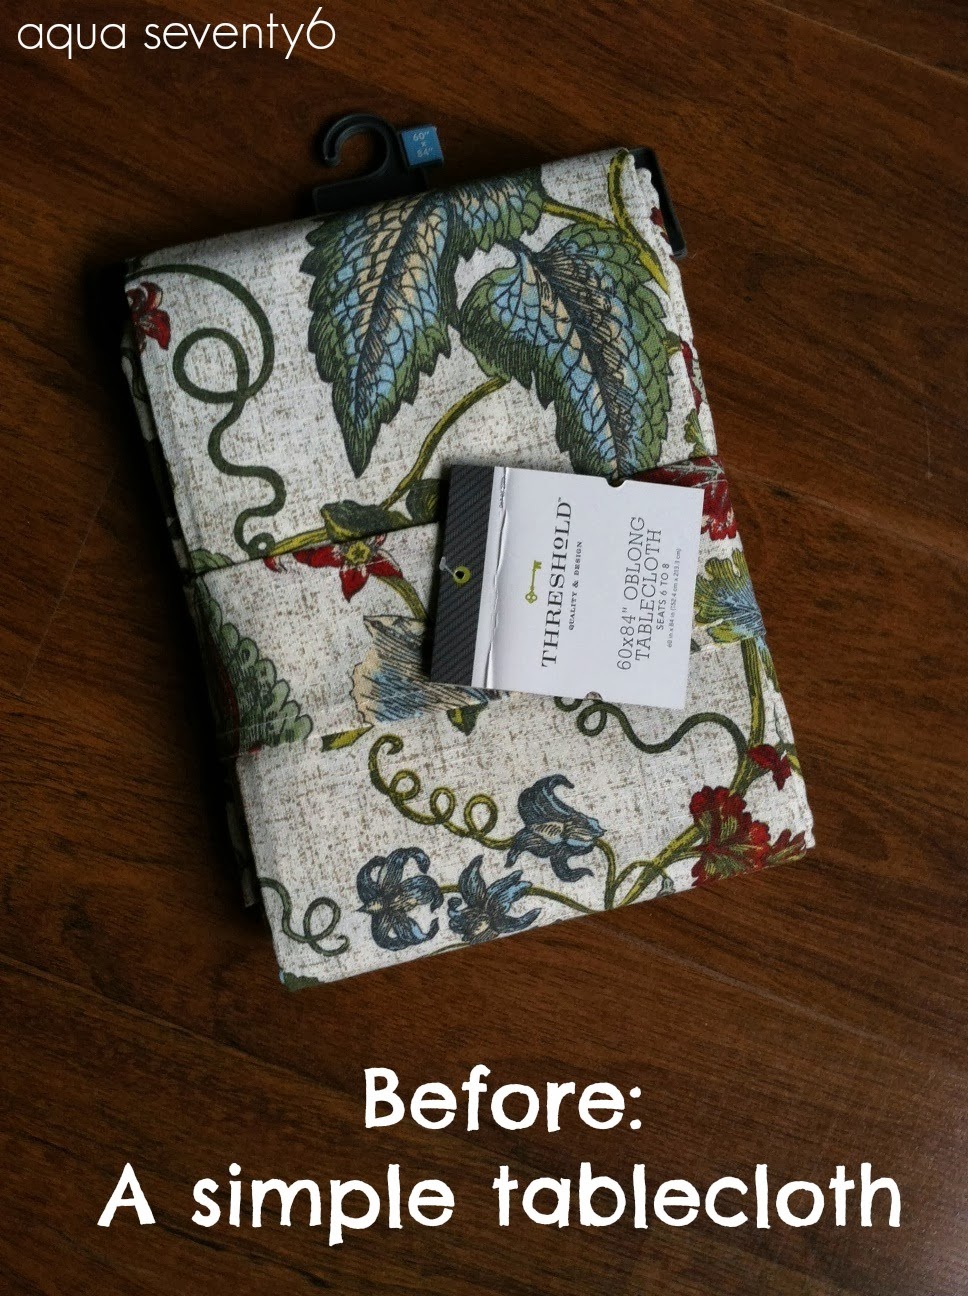
I needed some curtains for my dining room (in progress) but I couldn’t find any that I loved without giving up my first born child in return.  Then I came across two of these tablecloths:

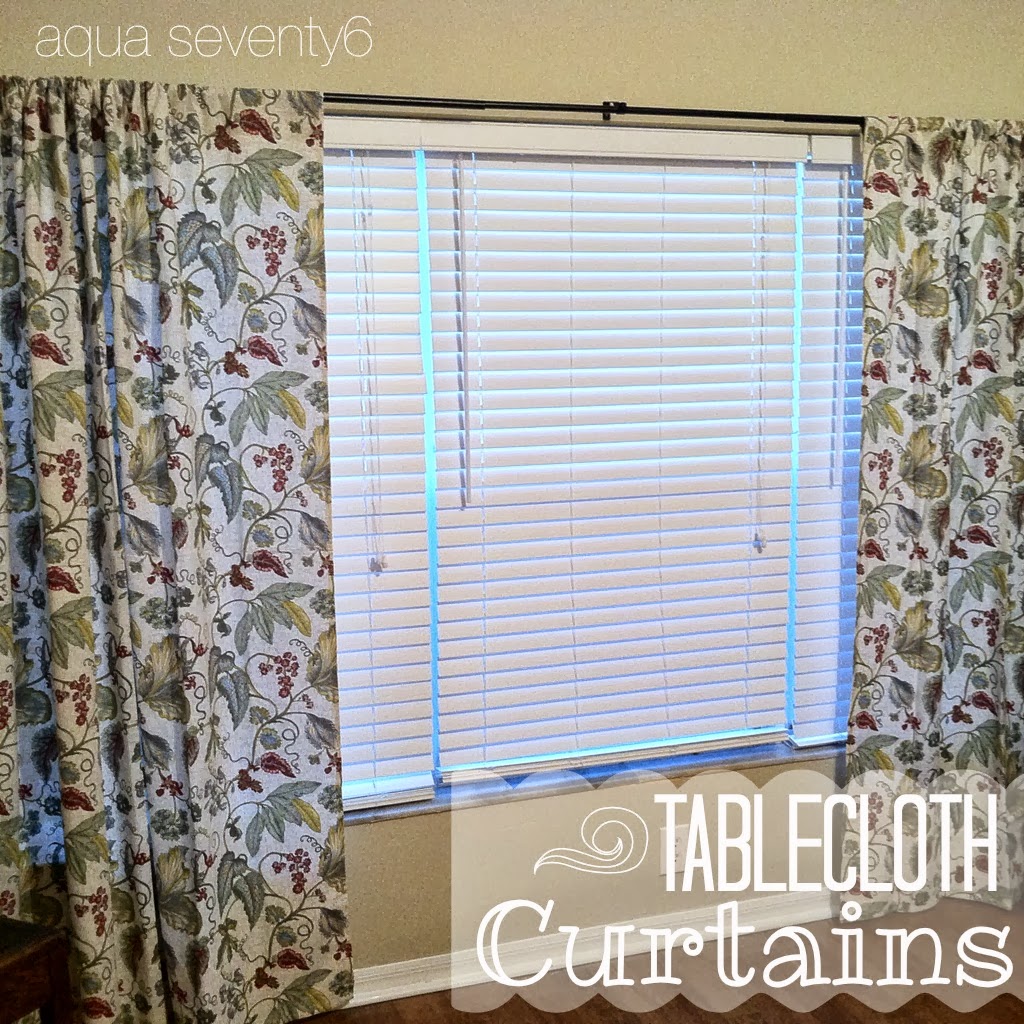
15 minutes later I had this:

I love quick and easy projects almost as much as I love repurposing and upcycling.  This is my favorite curtain tutorial so far, especially because it is only has 4 steps.

  1. Find a great deal on 2 identical oblong fabric tablecloths (Target’s Threshold brand comes in 84″ length…the same as a basic curtain panel! Many tablecloth brands range up to 120″ in length for the same price!)
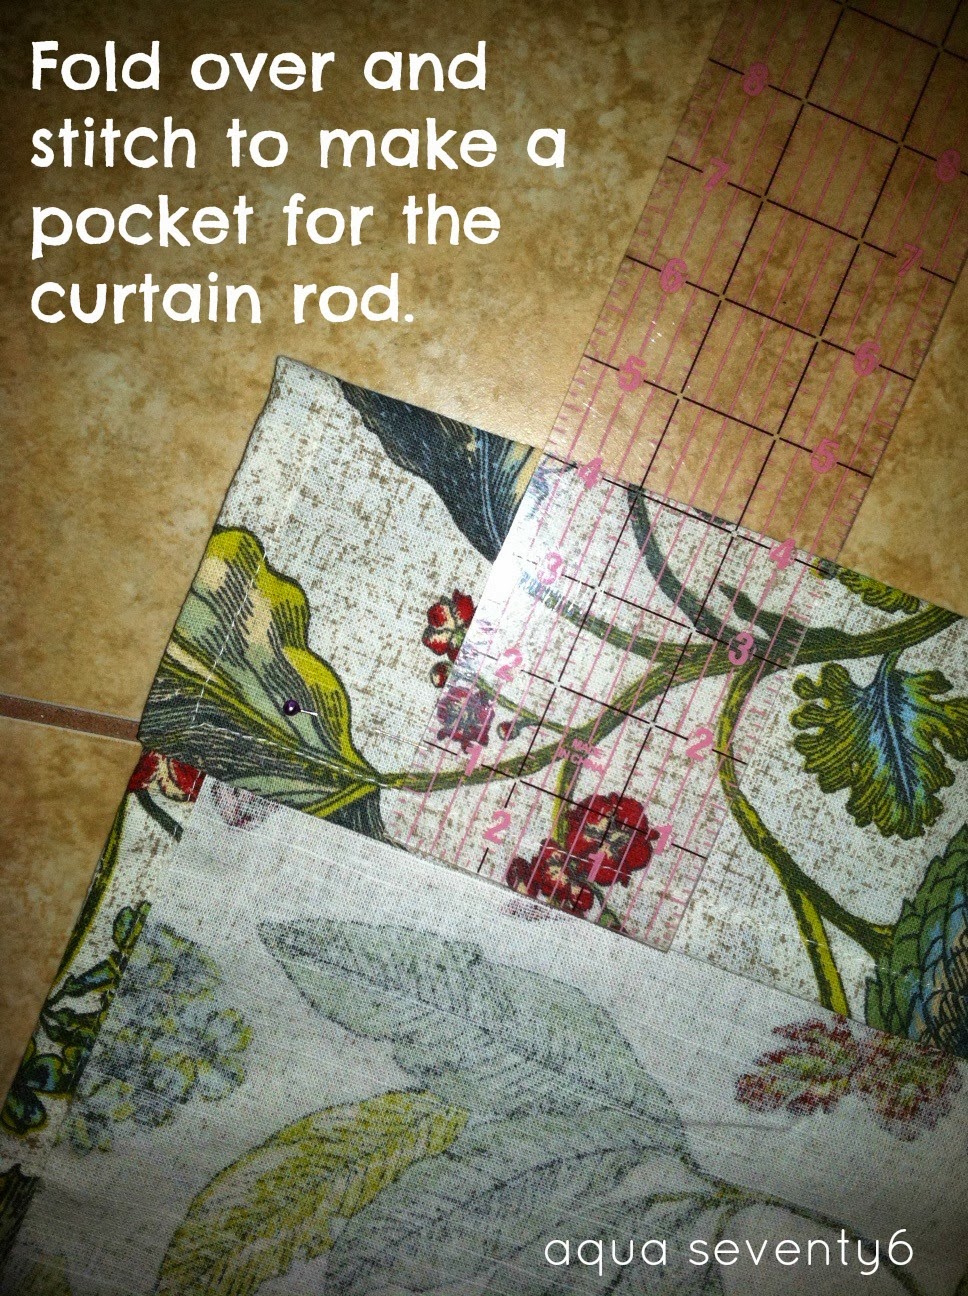
  2. Fold over the end of each of the tablecloths and pin to create a pocket on each for the rod.  The amount your fold depends on the size of the curtain rod.  Keep in mind that the more you fold over, the shorter the curtains will be. Make sure you fold them identically so that the panels hang evenly!
  3. Stitch along the bottom of each fold.
  4. Hang your new curtain panels!

What I love most is that tablecloths are already hemmed along all four sides, so you only have to sew one straight line across each!

Identical curtain panels at Target cost $24.99 each!  These tablecloths were $18.99 each (regular price). I saved 20% using my Cartwheel app, AND I had a Target coupon for $5 off a home purchase, so I ended up spending around $25 for both.  Another plus is that tablecloths are anywhere from 6″ – 20″ wider than curtain panels, so I only needed two for this large window, where I would’ve normally needed 4 traditional panels.

If you keep your eyes peeled, you will catch a great deal on some tablecloths.  I’ve seen some as low as $6 recently! 

A variation of this tutorial for more narrow windows:

  • Use only one tablecloth.
  • Cut the tablecloth in half lengthwise.
  • Hem both newly cut sides
  • Follow steps 2-7 above.
  • Save EVEN MORE MONEY!

Photobucket

Easy {DIY} Vintage Sewing Cabinet Makeover

The months of August and September have been crazy busy for me!  I thought for sure that when the kids were back to school that I would have SO MUCH TIME to get all of my housework, work-work, volunteer-work, and DIY fun-work done that I would be literally searching for something to do…WRONG!

Housework has been on hold, work-work has picked up, and volunteer-work comes in almost daily. This means that DIY fun-work gets squeezed in at all hours of the night while everyone is in bed and I am desperately trying to catch up with my “Mom-only” guilty pleasure shows (Mistresses, Devious Maids, Real Housewives of Miami…)

Here’s my latest midnight project:

My Easy DIY Vintage Sewing Cabinet Makeover

My daughter has been asking for her own desk since school started, but she doesn’t have a lot of space in her bedroom. As I was searching for a small table I could transform into a desk, I came across this vintage sewing cabinet at my local thrift.

These are a fairly common item at garage sales and thrift shops.  In fact, there were two different ones for sale on the day I found her.  Yep, it’s a her….

She was marked at $35 because she came with a working sewing machine installed, still a pretty good deal, but I really just wanted the cabinet.  The tag showed that it was the 7th day since she had been put out for sale, so I asked the manager and he brought the price down to $20, machine and all.

This girl weighed a good 40 lbs, so even if I wanted to just tuck away the machine, I knew it would just be way too cumbersome to keep installed. I unscrewed the bolts and set the massively heavy machine aside for my upcoming charity yard sale.

As part of my search for a desk, I had come across a new (to me, at least) line of chalk paints at a local home goods consignment shop and I decided to try some out.

I fell in LOVE with this coral color called Gypsy by Vintage Market & Design Furniture Paint.  I coordinated it with some Annie Sloan Provence, used the Annie Sloan clear wax and left the hardware with its existing patina.  Not much work, but boy, what an update!

My daughter LOVES it, and it fits right into the little corner of her bedroom.  I’m still debating whether to hang a basket in the hole where the sewing machine was or to cover the hole completely with a thin piece of board, but for now she can do her homework in the comfort of her own room.

Adorable, right??  Now on to search for the perfect chair!

Photobucket

Click here to see the amazing sites where this and my other projects are linked!

 Other\ fun parties:
Saavy Southern Style